CSS: Tag style
The main problem with using attributes to define styles is that they are overloaded. Often, HTML markup contains very many elements, and when you add styles, there ends up being much more code, which is bad for reading the markup.
The second problem is fixing the styles. To do this, you must first find the desired element in the code, and then edit its styles. There may be 10, 20, or 100 such elements on the page. And for tags with the same name, you have to write styles for each element separately.
There is a natural desire to have all the styles in one place where you can quickly edit them. One solution is to use the <style> tag which can hold all of the necessary styles.
Let's take an example from the last lesson:
<div style="font-size: 20px;">
  This text will have a font size of 20 pixels

  <p>The enclosed paragraph will also have a font size of 20 pixels</p>
</div>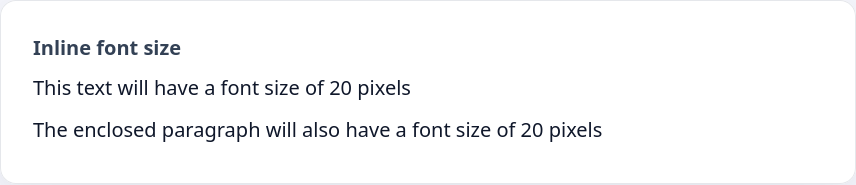
To get rid of the attributes, let's add a style tag and specify that the <div> tag uses a font size of 20 pixels.
<style>
  div {
    font-size: 20px;
  }
</style>

<div>
  This text will have a font size of 20 pixels

  <p>The enclosed paragraph will also have a font size of 20 pixels</p>
</div>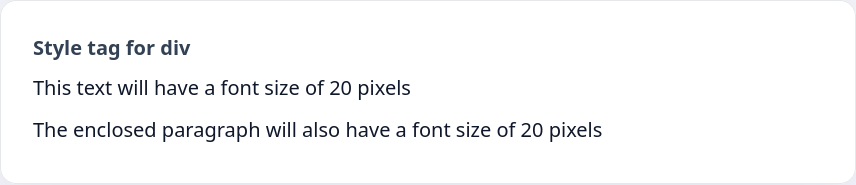
In the same way, you can specify that the paragraph will have a font size of 10 pixels
<style>
  div {
    font-size: 20px;
  }

  p {
    font-size: 10px;
  }
</style>

<div>
  This text will have a font size of 20 pixels

  <p>The enclosed paragraph will have a font size of 10 pixels</p>
</div>
Inside the tag <style> used a construction in this form:
tag_name {
  property: value;
}Anything written before the opening bracket { is called a selector. Selectors are the rules by which the browser determines which element to add styles to. We'll get to know some of the selectors a little later. In the examples above, selectors are used by tag, i.e., styles will be applied to all elements with the tag specified as a selector
/* All div elements will be set to a font size of 20px */
div {
  font-size: 20px;
}Instructions
Add a paragraph to the editor and, using the style tag, set the font size to 10 pixels
If you've reached a deadlock it's time to ask your question in the «Discussions». How ask a question correctly:
- Be sure to attach the test output, without it it's almost impossible to figure out what went wrong, even if you show your code. It's complicated for developers to execute code in their heads, but having a mistake before their eyes most probably will be helpful.
Your exercise will be checked with these tests:
const { test } = require('tests');

test(({ query, expect }) => {
  const styleTag = query(document, 'style');
  expect(styleTag).to.be.visible;

  const paragraph = query(document, 'p')
  const styleP = getComputedStyle(paragraph);

  expect(styleP).to.have.property('font-size', '10px');
});Teacher's solution will be available in:
20:00
